Our smartphones have become an essential part of our daily lives, helping us stay connected, productive, and entertained. However, all it takes is one accidental drop to turn your trusty Samsung device into a cracked-screen nightmare. The good news is that Samsung screen repair doesn't have to be a hassle. With the right information and resources, you can get your phone back to its original glory in no time. Read on to find out how to make Samsung screen repair easy and stress-free.
Why You Shouldn't Ignore a Cracked Screen
It can be tempting to ignore a cracked screen, especially if it's just a small hairline fracture. However, not addressing the issue can lead to more serious problems down the line. Here are a few reasons why you shouldn't put off Samsung screen repair:
Reasons to Address a Cracked Screen:
- Prevent further damage: A cracked screen can make your phone more susceptible to water damage, dust, and debris.
- Protect your fingers: Small cracks can turn into sharp edges that can cut your fingers.
- Preserve the integrity of the display: Ignoring a cracked screen can lead to more serious issues with the display over time.
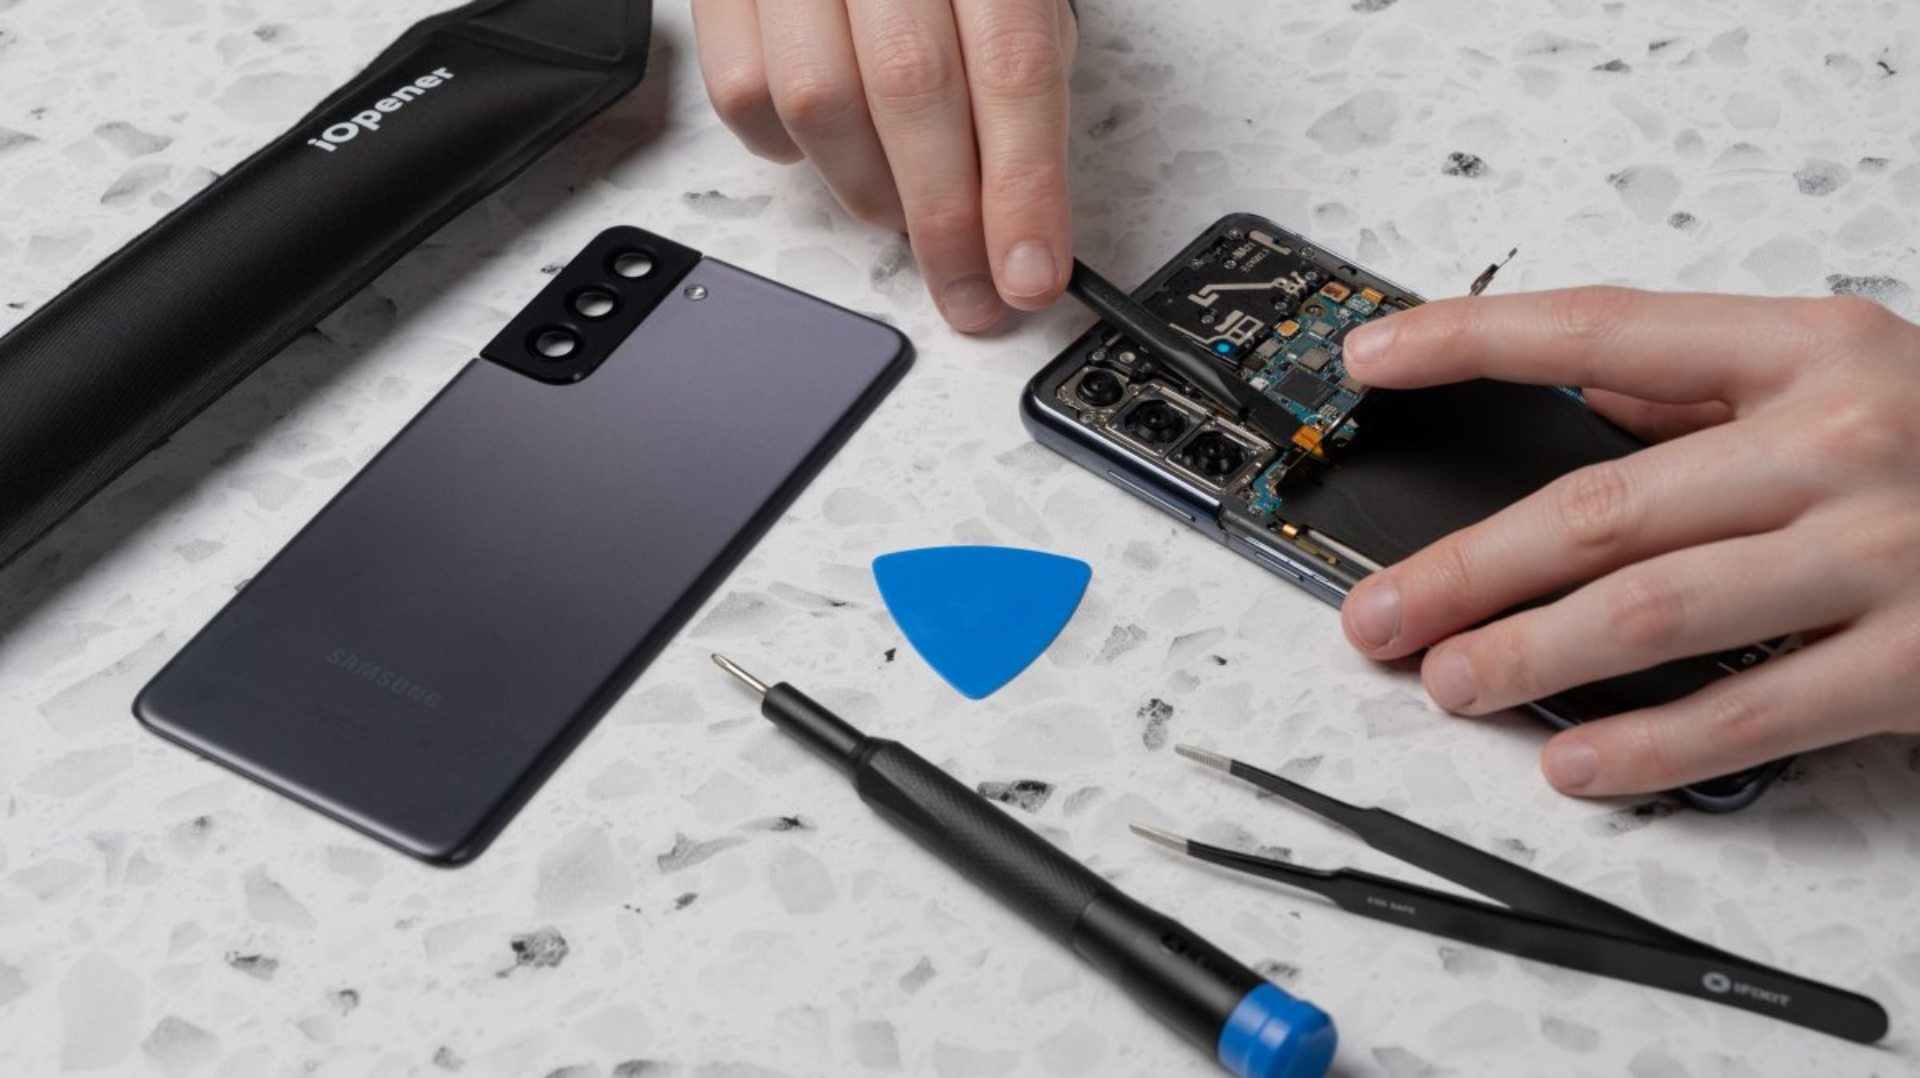
DIY vs. Professional Repair
When it comes to Samsung screen repair, you have two main options: doing it yourself or seeking professional help. Here are some factors to consider when deciding between DIY and professional repair:
DIY Samsung Screen Repair
- Cost-effective: DIY repair kits are often more affordable than professional services.
- Convenience: You can repair your screen at home without having to wait for an appointment.
- Risk of mistakes: DIY repair can be tricky and may void your warranty if not done correctly.
Professional Samsung Screen Repair
- Expertise: Professionals have the skills and experience to repair your screen correctly.
- Warranty protection: Professional repairs often come with a warranty to cover any issues that may arise.
- Time-saving: Getting your screen repaired by a professional can save you time and hassle.
Steps to Repair Your Samsung Screen
Whether you choose to repair your Samsung screen yourself or seek professional help, here are the general steps involved in the repair process:
DIY Screen Repair
- Order a screen repair kit online.
- Watch tutorial videos to familiarize yourself with the repair process.
- Gather the necessary tools, such as a screwdriver and suction cup.
- Carefully remove the broken screen from your Samsung device.
- Follow the instructions in the repair kit to install the new screen.
- Test your device to ensure the screen is functioning properly.
Professional Screen Repair
- Research and choose a reputable repair service in your area.
- Contact the service to schedule an appointment or inquire about mail-in options.
- Bring or send your Samsung device to the repair service.
- Wait for the professionals to assess the damage and provide a repair quote.
- Approve the repair quote and wait for the technicians to fix your screen.
- Pick up your fully repaired Samsung device and enjoy your like-new screen.
Tips to Prevent Future Screen Damage
Once you've repaired your Samsung screen, it's important to take steps to prevent future damage. Here are some tips to keep your screen safe and intact:
Preventive Measures:
- Use a screen protector to add an extra layer of protection.
- Invest in a durable phone case to cushion your device from drops and impacts.
- Avoid placing your phone in your back pocket or other precarious locations.
- Be mindful of where you set your phone down to prevent accidental falls.
Conclusion
Don't let a cracked screen ruin your day. With the right approach and resources, Samsung screen repair can be a straightforward process. Whether you choose to tackle the repair yourself or seek professional help, addressing a cracked screen in a timely manner is crucial to prevent further damage and maintain the functionality of your device. By following the steps outlined in this guide and taking preventive measures, you can keep your Samsung device looking and working like new for years to come.